
Interlocking pavers: how to do It right


The interlocking paving method is one of the easiest ways to enhance your yard’s appearance. Not only is it a good option even for an amateur DIYer, but also has many benefits compared to other paving techniques: interlocking pavers withstand weather extremities, freeze-thaw cycles, and a lot of traffic.
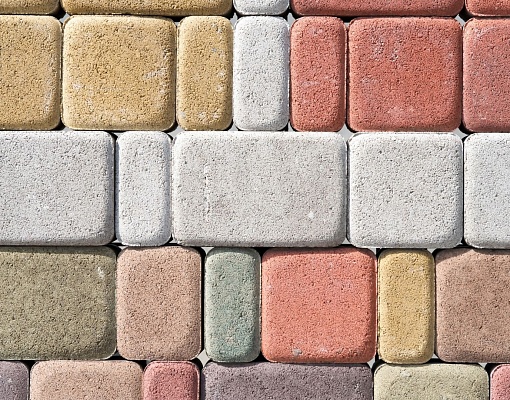
Pavers come in different colors and shapes so it is easy to find something suitable for your house’s style. Just like in any business, adhering to the proper procedure is a key to success. That’s why we will look at how to install interlocking paving stones step-by-step.
Planning the Project
- Start by drawing a map and making a plan for the project.
- Decide what area needs paving and mark its borders with paint.
- Remember that the place where you install pavers should be protected from flooding as good drainage is essential for a successful installation. It is necessary that you create a slight slope +/- ¼” per ft. drop away from your house or other building structure. You can plan the slope using stakes and strings.
- Measure the square footage of the area and determine how many pavers you need including a 5% waste factor. If a walkway has many curves, add a few extra percent to your waste factor as more bricks will have to be cut.
- Don’t forget to measure the depth of the area that will be excavated according to the thickness of the pavers and the setting bed materials.

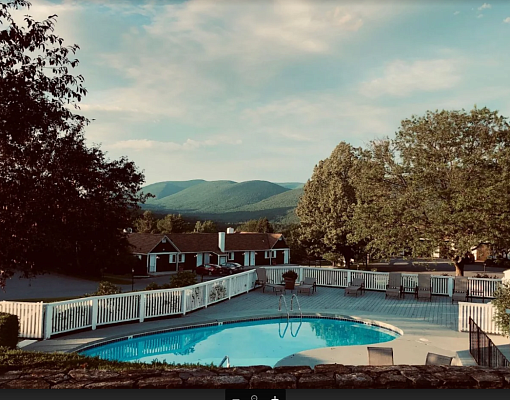
This above photo is not the proper way to install pavers - grass needs to be removed and excavated prior to spreading any aggregate base or sand setting bed.
Choosing Pavers
Interlocking pavers’ advantage is that they can be installed without mortar - they are laid like a puzzle. There are various types: stone, brick, concrete, marble, rubber, cobblestone. The qualities of materials differ, that’s why you should take into account the terrain, climate, and the conditions you live in.
- Concrete pavers provide good surface traction, are more durable than poured concrete, can be cut to fit any design, and don’t cost a fortune. It is a good choice for many applications including driveways, patios, and pool decks.
- Clay Brick pavers fit any climate, they are easy to maintain and long lasting. Clay Brick is good for walkways, patios, and driveways.
- Stone pavers have a nice aesthetic look that will remind you of a bygone era. It is perfect for gardens and pathways in a vintage style, but this kind of paver tile isn’t fit for areas subjected to a lot of traffic like driveways. Natural stone has quite a high price compared to concrete pavers.
- Travertine & Marble pavers are costly too but they look luxurious and maintain a cool surface during hot weather, which makes them great for swimming pool surroundings. Be sure to use a grip sealer for traction around pool decks..
- Cobblestone pavers are often made of granite. They are very strong and don’t need a lot of maintenance and are great in driveway applications.

Send us a request
And get a unique offer
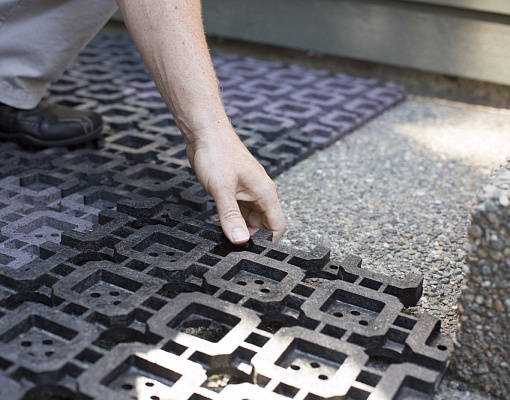
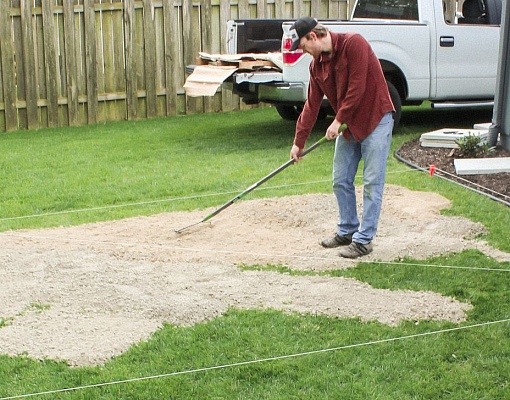
Base Preparation
After excavation of the area to receive pavers, the next step is to lay an aggregate and/or sand base . The process of base preparation is quite straightforward if you have excavated the area to the right depth. Level the aggregate and sand with the proper slope away for drainage and compact the base with a hand tamper or mechanical plate compactor. The typical base thickness for a pedestrian path or patio is approx 2” - 4”. For heavier trafficked areas or driveways the base should be between 4”-6 thick.

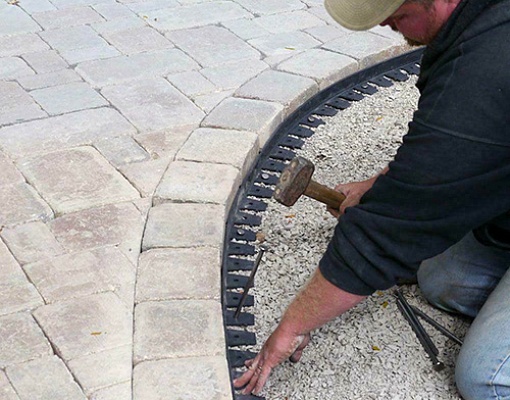
Edge Restraint
Installing an edge restraint is extremely important for interlocking pavers. Otherwise, they will spread and move. The whole construction will be ruined within a short time without an edge restraint. It can be made of plastic, metal, or concrete.
- Plastic restraints aren’t very durable and don't fit climates with sharp contrast in weather during different seasons. However, they are inexpensive and easy to install.
- Metal restraints are perfect for walkways with many curves as they can be bent. They can last longer and prevent landscape overgrowth.
- Concrete troweled edge restraint is the most common option and can be applied to the side of the paver down at a 45 deg. angle. The concrete can include a continuous rebar to prevent it from cracking or breaking away in freeze-thaw climates.
Place the Pavers
Place the bricks on the sand moving in a forward direction. It is best to use string lines fixed to stakes and pulled tight to the finish paver elevation heights to ensure pavers are installed evenly, straight, and with the proper slope. . Interlocking pavers should fit tight to each other, and like puzzles, the pattern design ensures there are no gaps between the pavers larger than ⅛”.

Compact the Field
Interlocking sand set paver installations require compaction. It is needed not only for the leveling of the uneven surface of each paver, but also for the structural integrity of the system. . Use a plate compactor over the top of the pavers to compress into the sand bed. The sand from the bottom will work up into the joints from the bottom, and the jointing sand will fill the joints from the top. If you don’t have this equipment , you can rent it from most home improvement stores. You can attach a protective mat to the bottom of the compactor if your paver material is fragile as well.

Sand and Sealing
As previously mentioned, after the compaction of the pavers, sweep finds sand into the joints between pavers. A second pass with the compactor will help vibrate the joint sand all the way down into the joints. More joint sand can be reapplied until full. The sand can also be watered afterward so that the sand stays in its place. It is recommended to use a polymeric sand for paver joints larger than ⅛” wide as it hardens immediately once water is applied. Regular joint sand can wash out in wider joints prior to becoming stable & calcified.
Finally clean the pavers with a light pressure washer, and let them dry out completely before applying a sealant suitable for your type of pavers - i.e. enhancing sealer, natural-look sealer, or grip sealer. Follow the instructions for the product you chose and your patio with interlocking pavers construction is bound to look impeccable.


Get a quote for free!
Complete the form below, and we'll call you to
discuss your exact project requirements
Leave a comment