
Paving and masonry installation methods


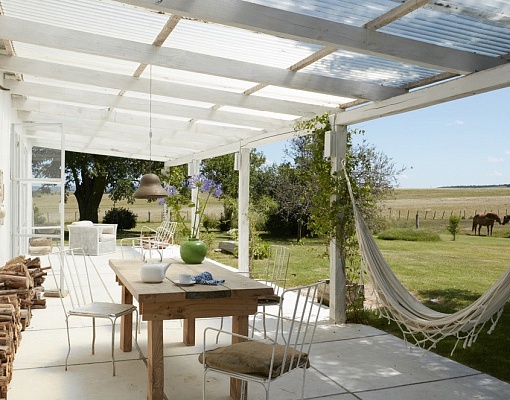
Outdoor pavers can turn your patio or garden into an area where the whole family gathers and enjoys the pastime together. Flooring is essential not only for the good look of your yard but also for your comfort.
Laying pavers is not as difficult as you may think ーa handy craftsman can easily do it himself. In this article, we will share with you the main information on how to install pavers or stonework and what base or setting materials you can choose for your flooring.
Preparation
Some steps must be followed before the process of paver installation is started.
- Draw a plan and think through all the peculiarities of the project. It is recommended to decide what drainage you will provide for the pavers. Remember about the slopes. The pavers should pitch away at least an ⅛” per foot fall away from your house or building structure..
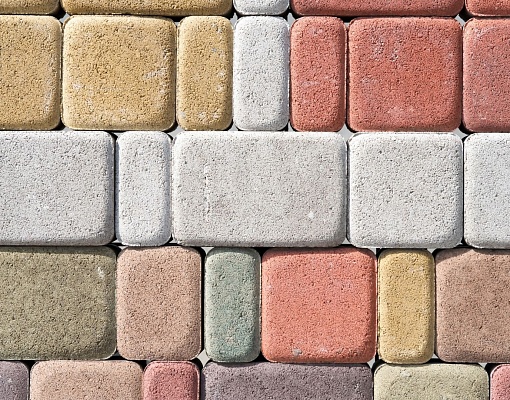
- Choose pavers and buy them. There are plenty of types: clay, concrete, marble, rubber, flagstone, etc. If the area that needs paving has a regular shape, just measure it and add a 5% waste factor to the sq.ft. number. If the shape is unusual, add more as the bricks will require cutting. When you buy pavers remember to include the cost to have them delivered.
- Mark the area that needs to be excavated with paint.
- Plan a slope of the paved area using stakes and strings.
- Determine what the proper depth of the area will be - depending on the thickness of your pavers, aggregate base, and sand leveling course .
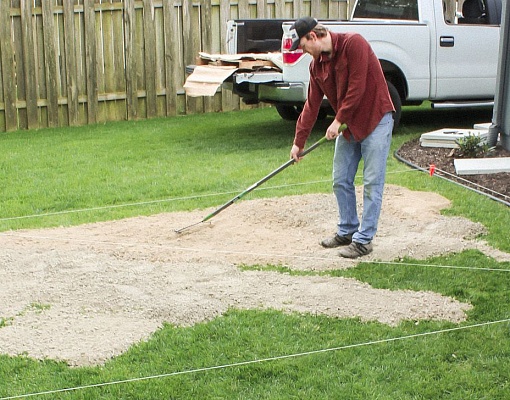
- Choose the base material. It should have good drainage. Usually, it is a crushed stone aggregate.
- Lay the base and compact it. Remember to cross the boundaries of the area where the pavers will be laid.
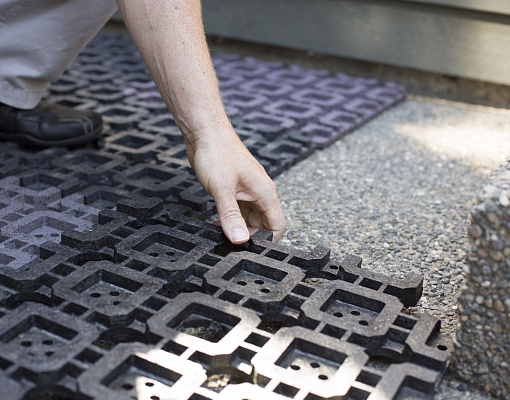
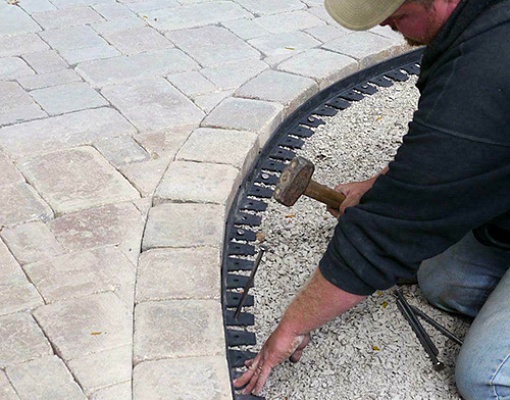
- Install the edge restraints. There is an article about them in our blog.
- Lay the leveling course material on which you will install the pavers. Use one of the mentioned below.

Sand Set Pavers
This method of paving is suitable for pedestrian & low vehicular traffic volumes. The main problem with the sand base for laying paving bricks is that it needs to have a strong edge restraint or the pavers will deform quite fast due to the movement and will stop performing its function properly.. Sand set pavers can demand quite a lot of maintenance if a solid base & edge restraint are not installed properly.
Advantages
- The sand layer provides effective drainage ー when it rains, moisture goes into the seams between the paving bricks or stones, that’s why puddles will never appear on such walkways.
- Since the surface of the track and its internal structure are not monolithic, they do not crack when the soil moves as individual pavers are mobile relative to each other.
- Since the paving stones are not attached to the base, the walkway is very easy to maintain - the deformed slab can be easily removed and replaced (provided that there is a product of the same shape and size in stock).
Disadvantages
- If quality drainage is not ensured, water does not drain properly and accumulates. Over time, a structure with a sand base can be ruined as water washes away anything.
- The surface does not tolerate exceeding the acceptable loads - if you drive a car on a footpath, the result can be very disappointing.
- Gardeners often complain that ants are dragging sand from under the paving stones in significant quantities.

Send us a request
And get a unique offer
Crushed Stone Set Pavers
Crushed stone is usually processed granite or limestone. Such a base is quite compact and forms a dense base that will withstand high volumes of traffic. As the paving installation is dry in this case, it is easier, cleaner, and more straightforward than with a concrete base. Masonry laid on crushed stone can remain in a good condition for years even without much maintenance.
Advantages
- It is easy to put a layer of crushed stone evenly, as well as to tramp it.
- The material will perfectly fill the gaps between individual tiles.
- A crushed stone base provides good drainage.
- The construction won’t sink even under the pressure of a heavy load.
- It’s a cheap option.
Disadvantages
- Weeds tend to grow between pavers laid on a crushed stone base.

Mortar Set Pavers
When pavers are planned to be used in high traffic areas, it is recommended to lay bricks on a mortar base. This paving method is designed for high loads and can be applied not only on private territory, but also in public places for constructing pedestrian areas, improving shops’ premises and parking lots.
Concrete has a high bearing capacity, it does not lose its functional qualities in long-term use, which gives it a huge advantage over other types of bases. Compared to other ways of installation, paving and masonry on a concrete pad is perhaps the most expensive method, however, the quality and durability of the result justify the cost.
Advantages
- The concrete base is resistant to high loads and mechanical damage.
- The construction will be just as solid and durable as the asphalt but the installation is easier and does not require the application of an asphalt roller.
Disadvantages
- The technology is more complicated than with other paving methods (laying bricks on a sand or gravel base).
- When removing a damaged brick for repair, adjacent ones can be damaged too.
- If the installation technique is not followed, the concrete base can begin to crumble after the first winter.

Final Steps
When you have installed paving or masonry on a relevant base, it is necessary to sweep fine sand into the joint spaces between bricks or stones. Vibrating the sand with a plate compactor will force the pavers down into the bedding course and fill joints with sand. Using water to wash the joint sand will also help sand stay in its place. You are free to use bagged silica instead of sand. The final step is to seal the pavers with a product designed for concrete & stone to protect and enhance the finish of the pavers. Make sure the pavers are fully dry before sealing if using a solvent based sealer as moisture inside the pavers can be trapped under the sealer causing a white haze under the finish.

Conclusion
After having read this article, you might have formed an idea of what paving methods exist and what the difference between them is. If you don’t miss any important steps and follow all the safety measures, you will certainly like the result of your work. To find out even more about paving and landscaping, check out other articles on our blog.
Get a quote for free!
Complete the form below, and we'll call you to
discuss your exact project requirements
Leave a comment